
Memories on the wall
Creative ways of decorating your house with photos

|
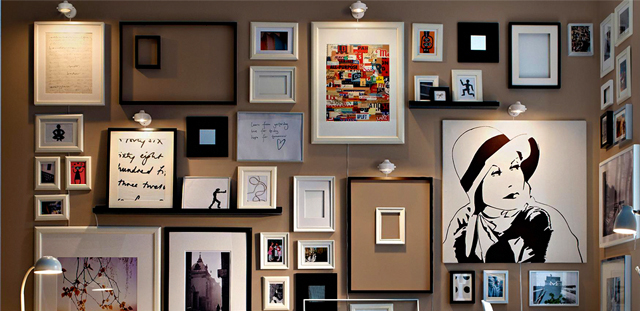
Image via Paint Place
Each house has a place that makes us call it our home. A place of comfort that boosts our energy or gives us tranquility.
How does place like that come to be? Is it the furniture where we store our memories or are the memories themselves our anchor?
Is it the colors of the spaces or what the colors represent what makes a house ours?
Photos are a great way to customize our home and its decor. We spread our presence with images of our own faces, of adventures across our lives or of those whom we love. These images can be considered art but can we portray them as such?
Even if we do not possess many resources, there are always new and unique ways to hang our memories on the wall.
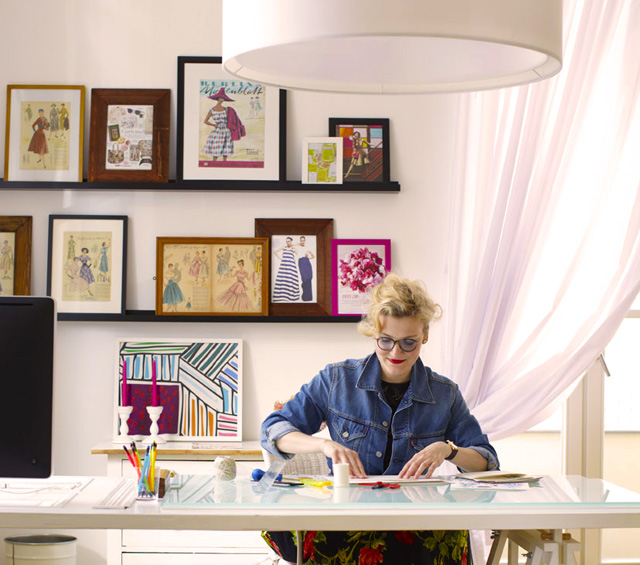
Image via evollt
Before we start, we must cultivate patience. One does not start by buying a photo frame or glues.
There are more efficient ways to make your ideas become a reality.
First we must consider the size of our future work of art! Start by measuring the wall itself. Take note of it's size and the dimentions of the portion of the wall you have selected for your creativity. You may occupy the totality of the wall and even come up with a big scale idea! On the other hand, never forget about the division in which you are working on and it's existing decorations and predispositions.
As such we find ourselves in the second step: Discovering the theme of the pictures of themselves! Any type of photo is valid, have fun searching among your past albums! The key here is in the colors you use. Compliment your bright kitchen with photos of markets with vivid colors but not too dark.
If your living room is blue you might consider cool tones to add to the effect, or warm tones to make a contrasting statement.
Here is where the concepts of feng shui apply themselves.
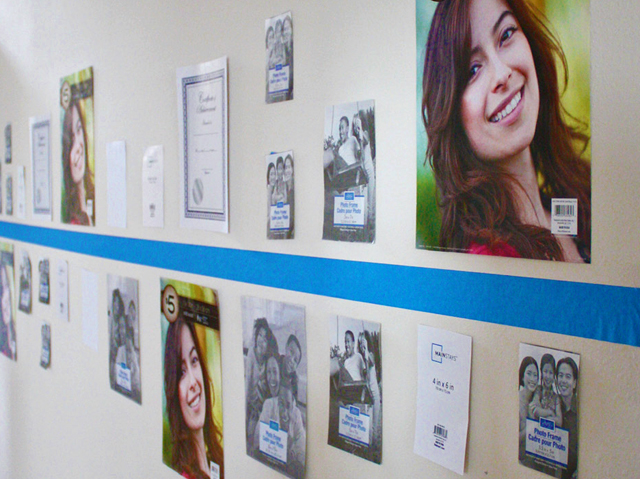
Image via MEG O on the GO
Choose your printing material: Either photographic paper or regular.
Either way, try to use thicker papers for better print quality. Simple prints usually devalue the final effect.
After printing, it's time to gather all the pictures and organize them into groups to consider their positioning!
Grab some tape or any temporary adhesive to experiment on the wall for a bit. As long as you are careful not to damage it's surface.
We also suggest finding an initial point on the wall to base these experiments and take the necessary measurements.
Usually, you ought to start with the bigger photographs. Use the smaller ones to fill in the gaps.
There is no problem in filling up the entire wall. What matters here is the equilibrium of the composition as a whole and its relationship with the space itself! Having found the size and composition of our work it is time to choose its framing materials.
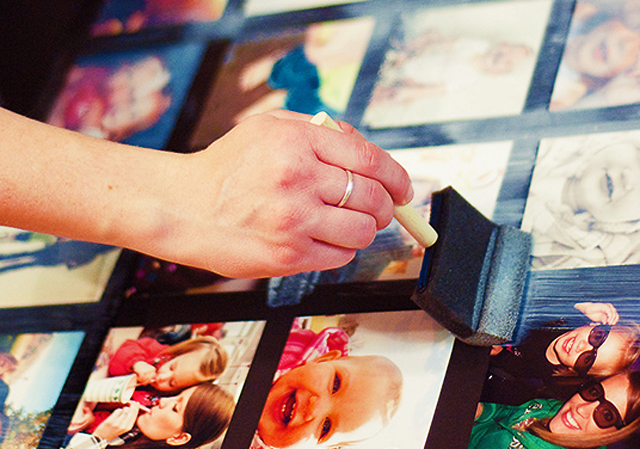
Imagem via Bits of Everything
The cheapest manner of assembling all of the photos into an unique piece is with the simple collage.
For collages we recommend the using compatible materials with white glue - like wood or cardboard.
Pick the glue for better results - We recommend a mixture of simple white glue diluted with water in equal parts.
This mixture is quick to make. It takes only one minute to mix and another to let it settle before its ready.
To apply it paint all over the surface area in which you are going to display the photos.
Then, after carefully placing them, paint over all of them.
After finishing up, let your work sit for the day before hanging it on the wall.
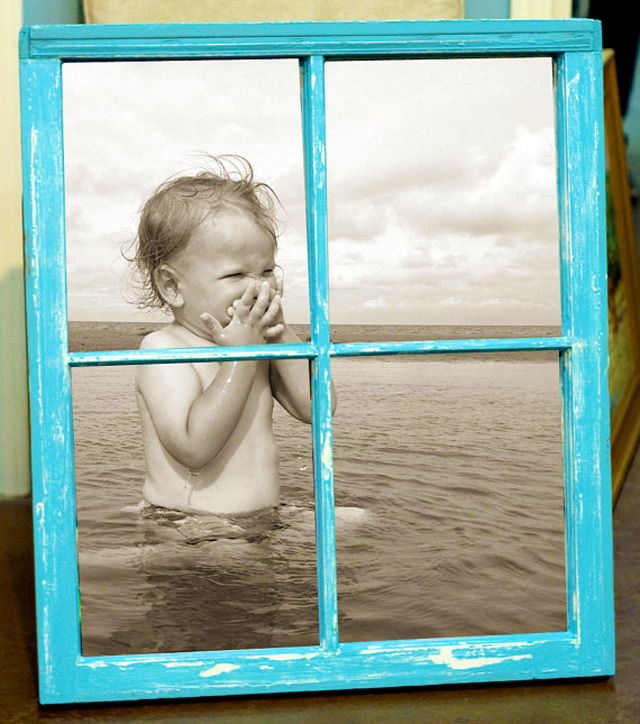
Image via Etsy
For those who want a work of love like collages but seek a more rustic effect for their pictures, we suggest the use of old wooden windows.
To find one you may order one online or search your local antique shop, furniture shop, ask friends or even discard piles on streets or junk yards.
The secret here lies in checking for bugs or faults.
First of all, remove the original glass, you'll need it. The glass is where you will glue your photo, like a photo frame without a back.
Afterwards run sandpaper over the surface before painting it to your liking.
There are online services available to do these works for you, for the best results.
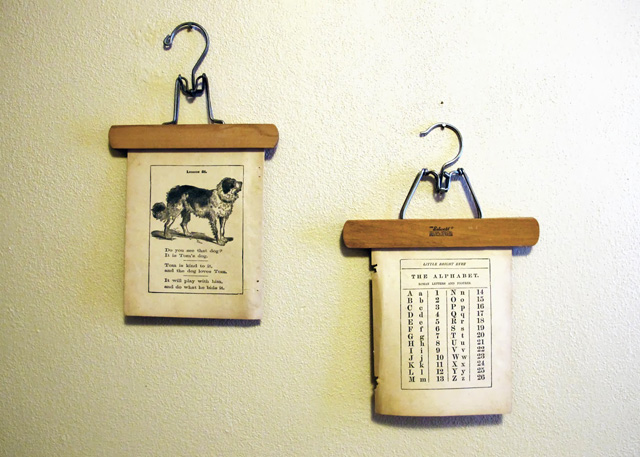
Image via Goodwillonaire
Speaking of recycled materials and low costs, use hangers.
Cesides their common use to organize clothes they also serve as a way to organize our memories!
This solution might present itself as vintage or modern depending on your tastes.
To better achieve this effect all you need to do is find the right hanger. Those that work best are pants hangers.
Although we recommend experimentation for more eccentric results.
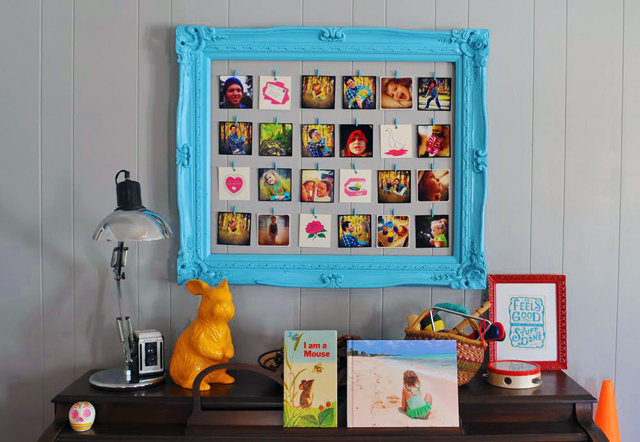
Image via Tag & Tibby
And so we come back to the Classic photo frames... with a variant!
A way of supporting your pictures is the use of wires, some nails and small clothes pegs as if we were hanging clothes themselves!
This variant allows for unique results in photo positioning. Let your imagination soar!
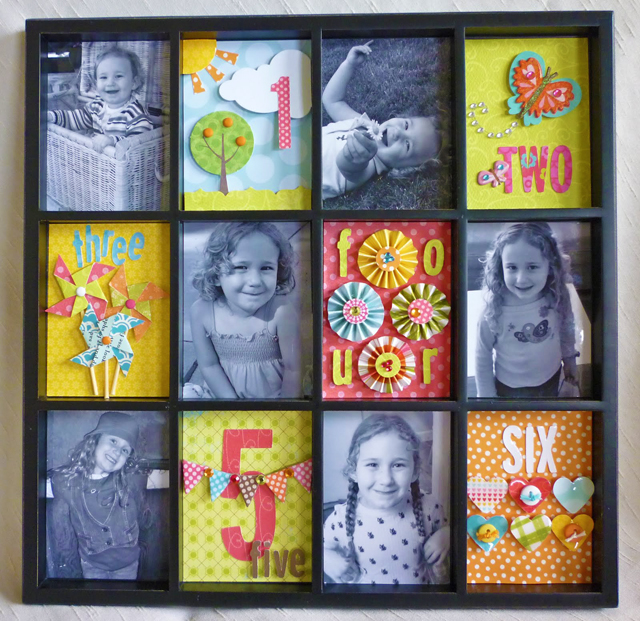
Image via bits, baubles & bliss
And before we wrap things up, we would like to remind that in the midst of these arts and crafts and it's chaos is where children have the most fun!
Try to call upon your family's youngest members to surprise yourself with their vivid imagination.
You might even show them memories across your lives whilst creating a new one!
The secret is in the inclusion of our home in our lives and our lives in our home.
